Amplify Gen2 入門:スクラッチからユーザーログインまで
Amplify Gen2 × Next.js でゼロからログイン機能を作る
Amplify Gen2 を使って、空のプロジェクトからユーザーログインまでを構築してみました!
クイックスタートのテンプレートは使わず、Amplify の基本構成を押さえながら進めます。
準備するもの
- AWS アカウント(費用が発生する可能性があります)
- Node.js & npm
Next.js プロジェクトの作成
まずはNext.js のプロジェクトを作成しましょう。
今回のプロジェクト名は amplify-login としています。
npx create-next-app@latest
✔ What is your project named? … amplify-login
✔ Would you like to use TypeScript? … No / Yes
✔ Would you like to use ESLint? … No / Yes
✔ Would you like to use Tailwind CSS? … No / Yes
✔ Would you like your code inside a `src/` directory? … No / Yes
✔ Would you like to use App Router? (recommended) … No / Yes
✔ Would you like to use Turbopack for `next dev`? … No / Yes
✔ Would you like to customize the import alias (`@/*` by default)? … No / Yes
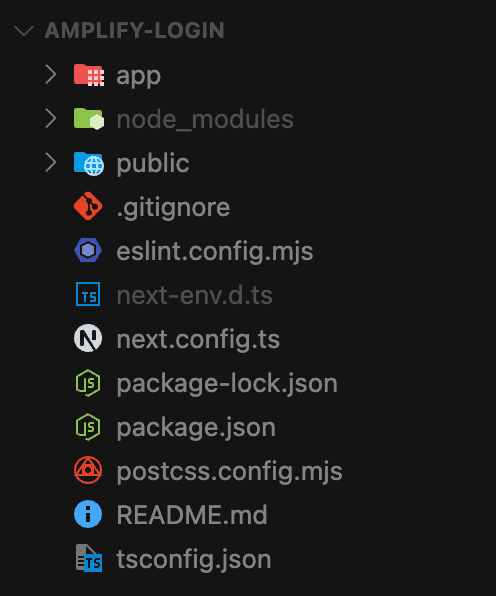
下記のようなプロジェクトフォルダが作成されました。
Amplify Gen2をセットアップ
まず先ほど作成したプロジェクトファイルに移動します。
cd amplify-login
公式サイトを参考に、インストールしていきます。
npm create amplify@latest
✔ Where should we create your project? .
プロジェクトフォルダに下記のファイルが追加されました。
├── amplify/
│   ├── auth/
│   │   └── resource.ts
│   ├── data/
│   │   └── resource.ts
│   ├── backend.ts
│   ├── tsconfig.json
│   └── package.json
├── node_modules/
├── .gitignore
├── package-lock.json
├── package.json
└── tsconfig.json
この時点ですでにauthやdataが初期設定されています。
Amplifyにデプロイする
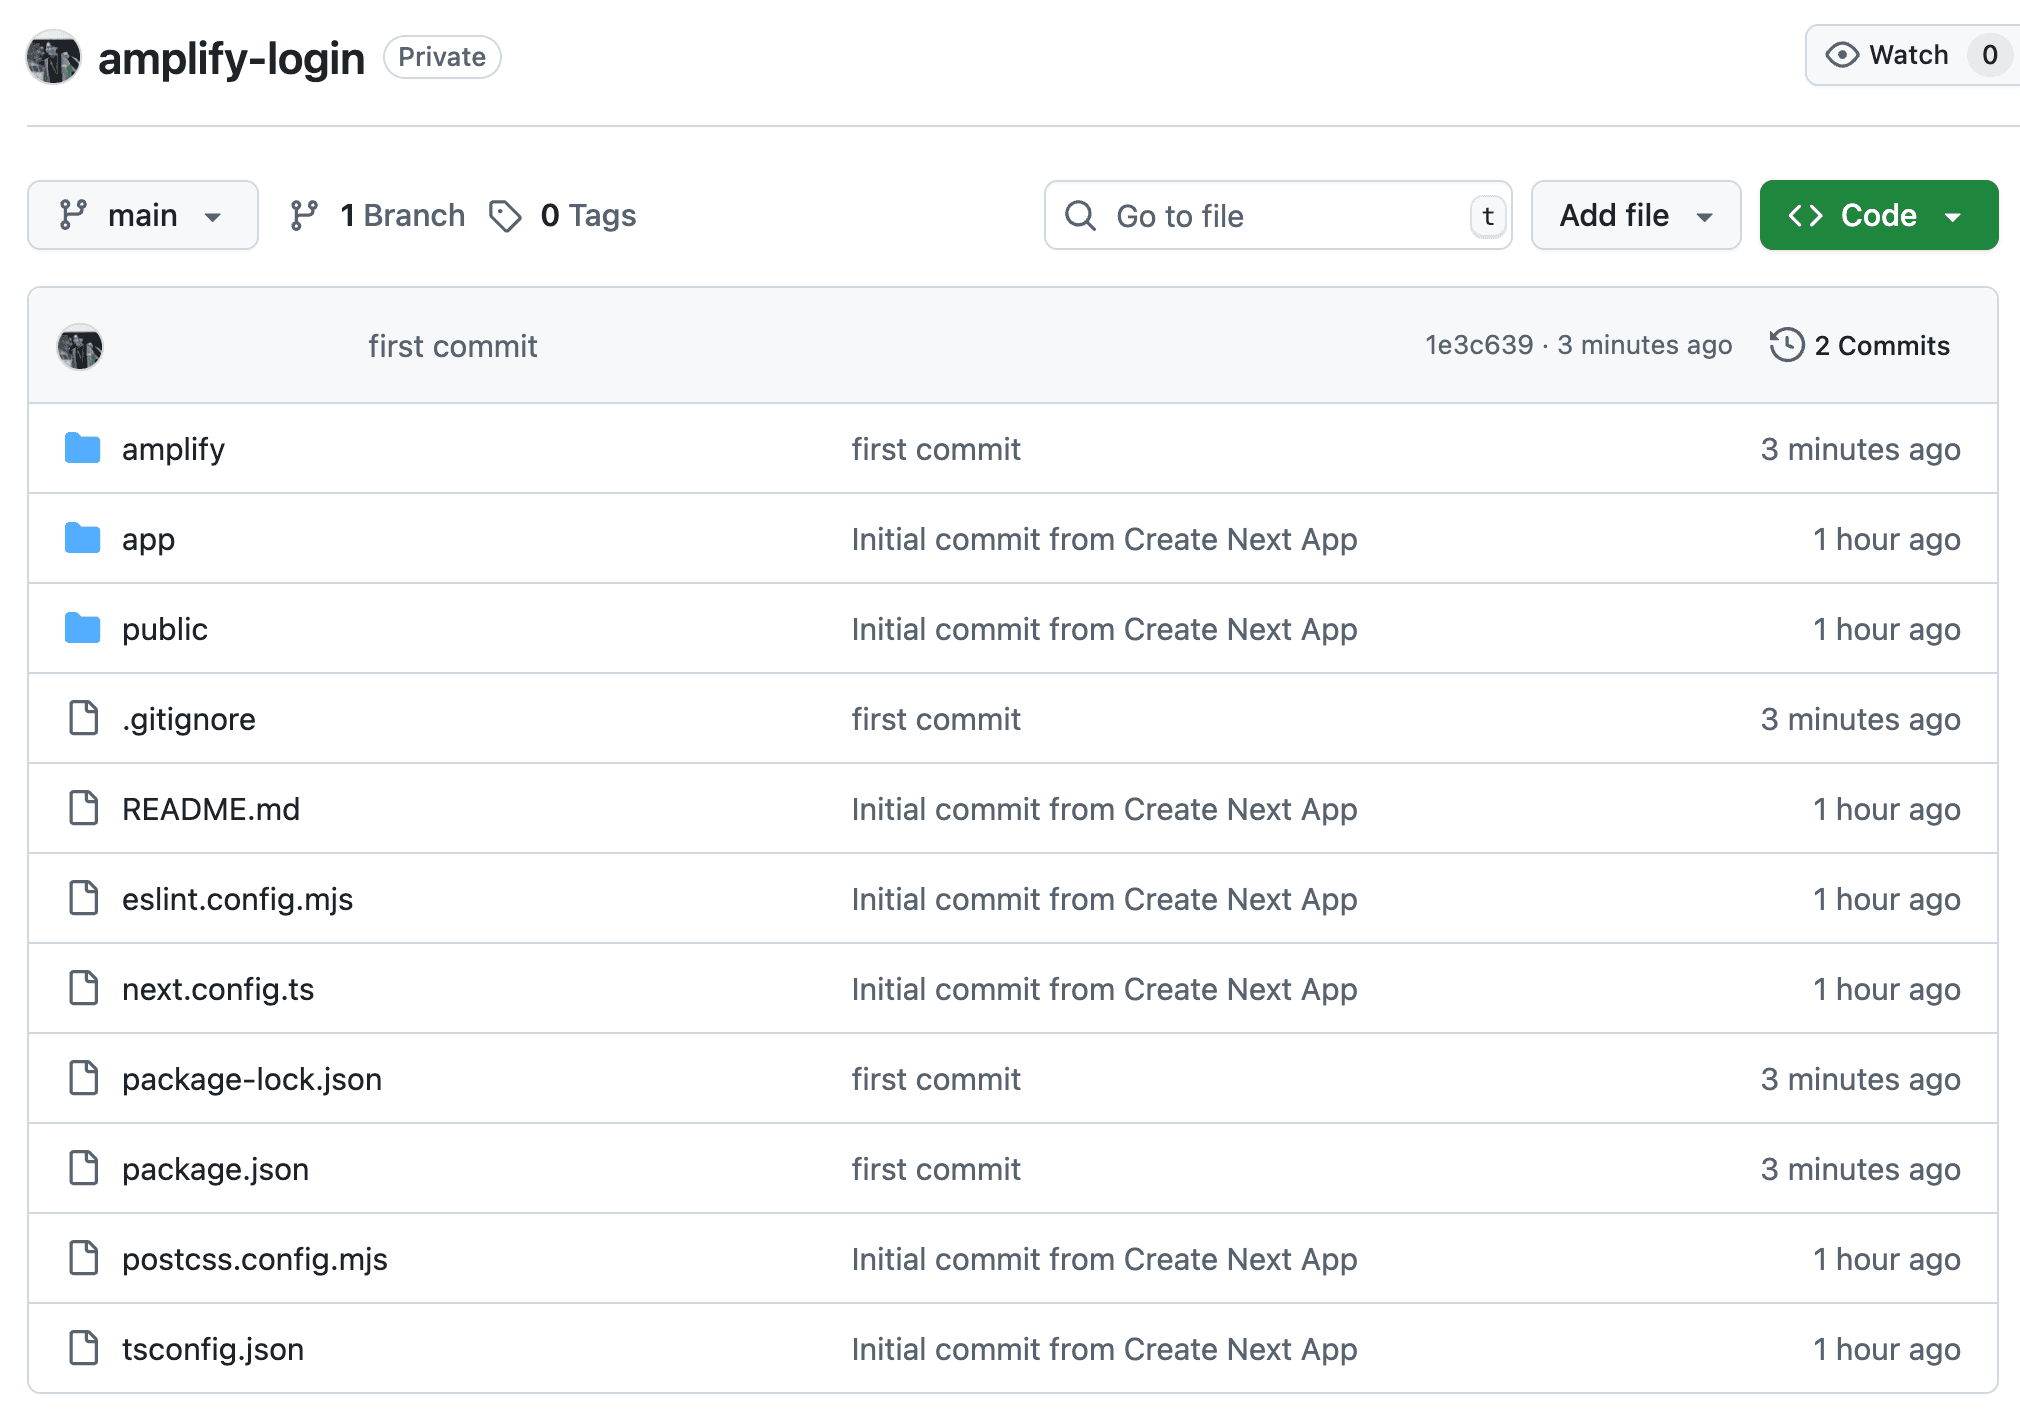
先ほど作成したプロジェクトをGitHubにプッシュします。
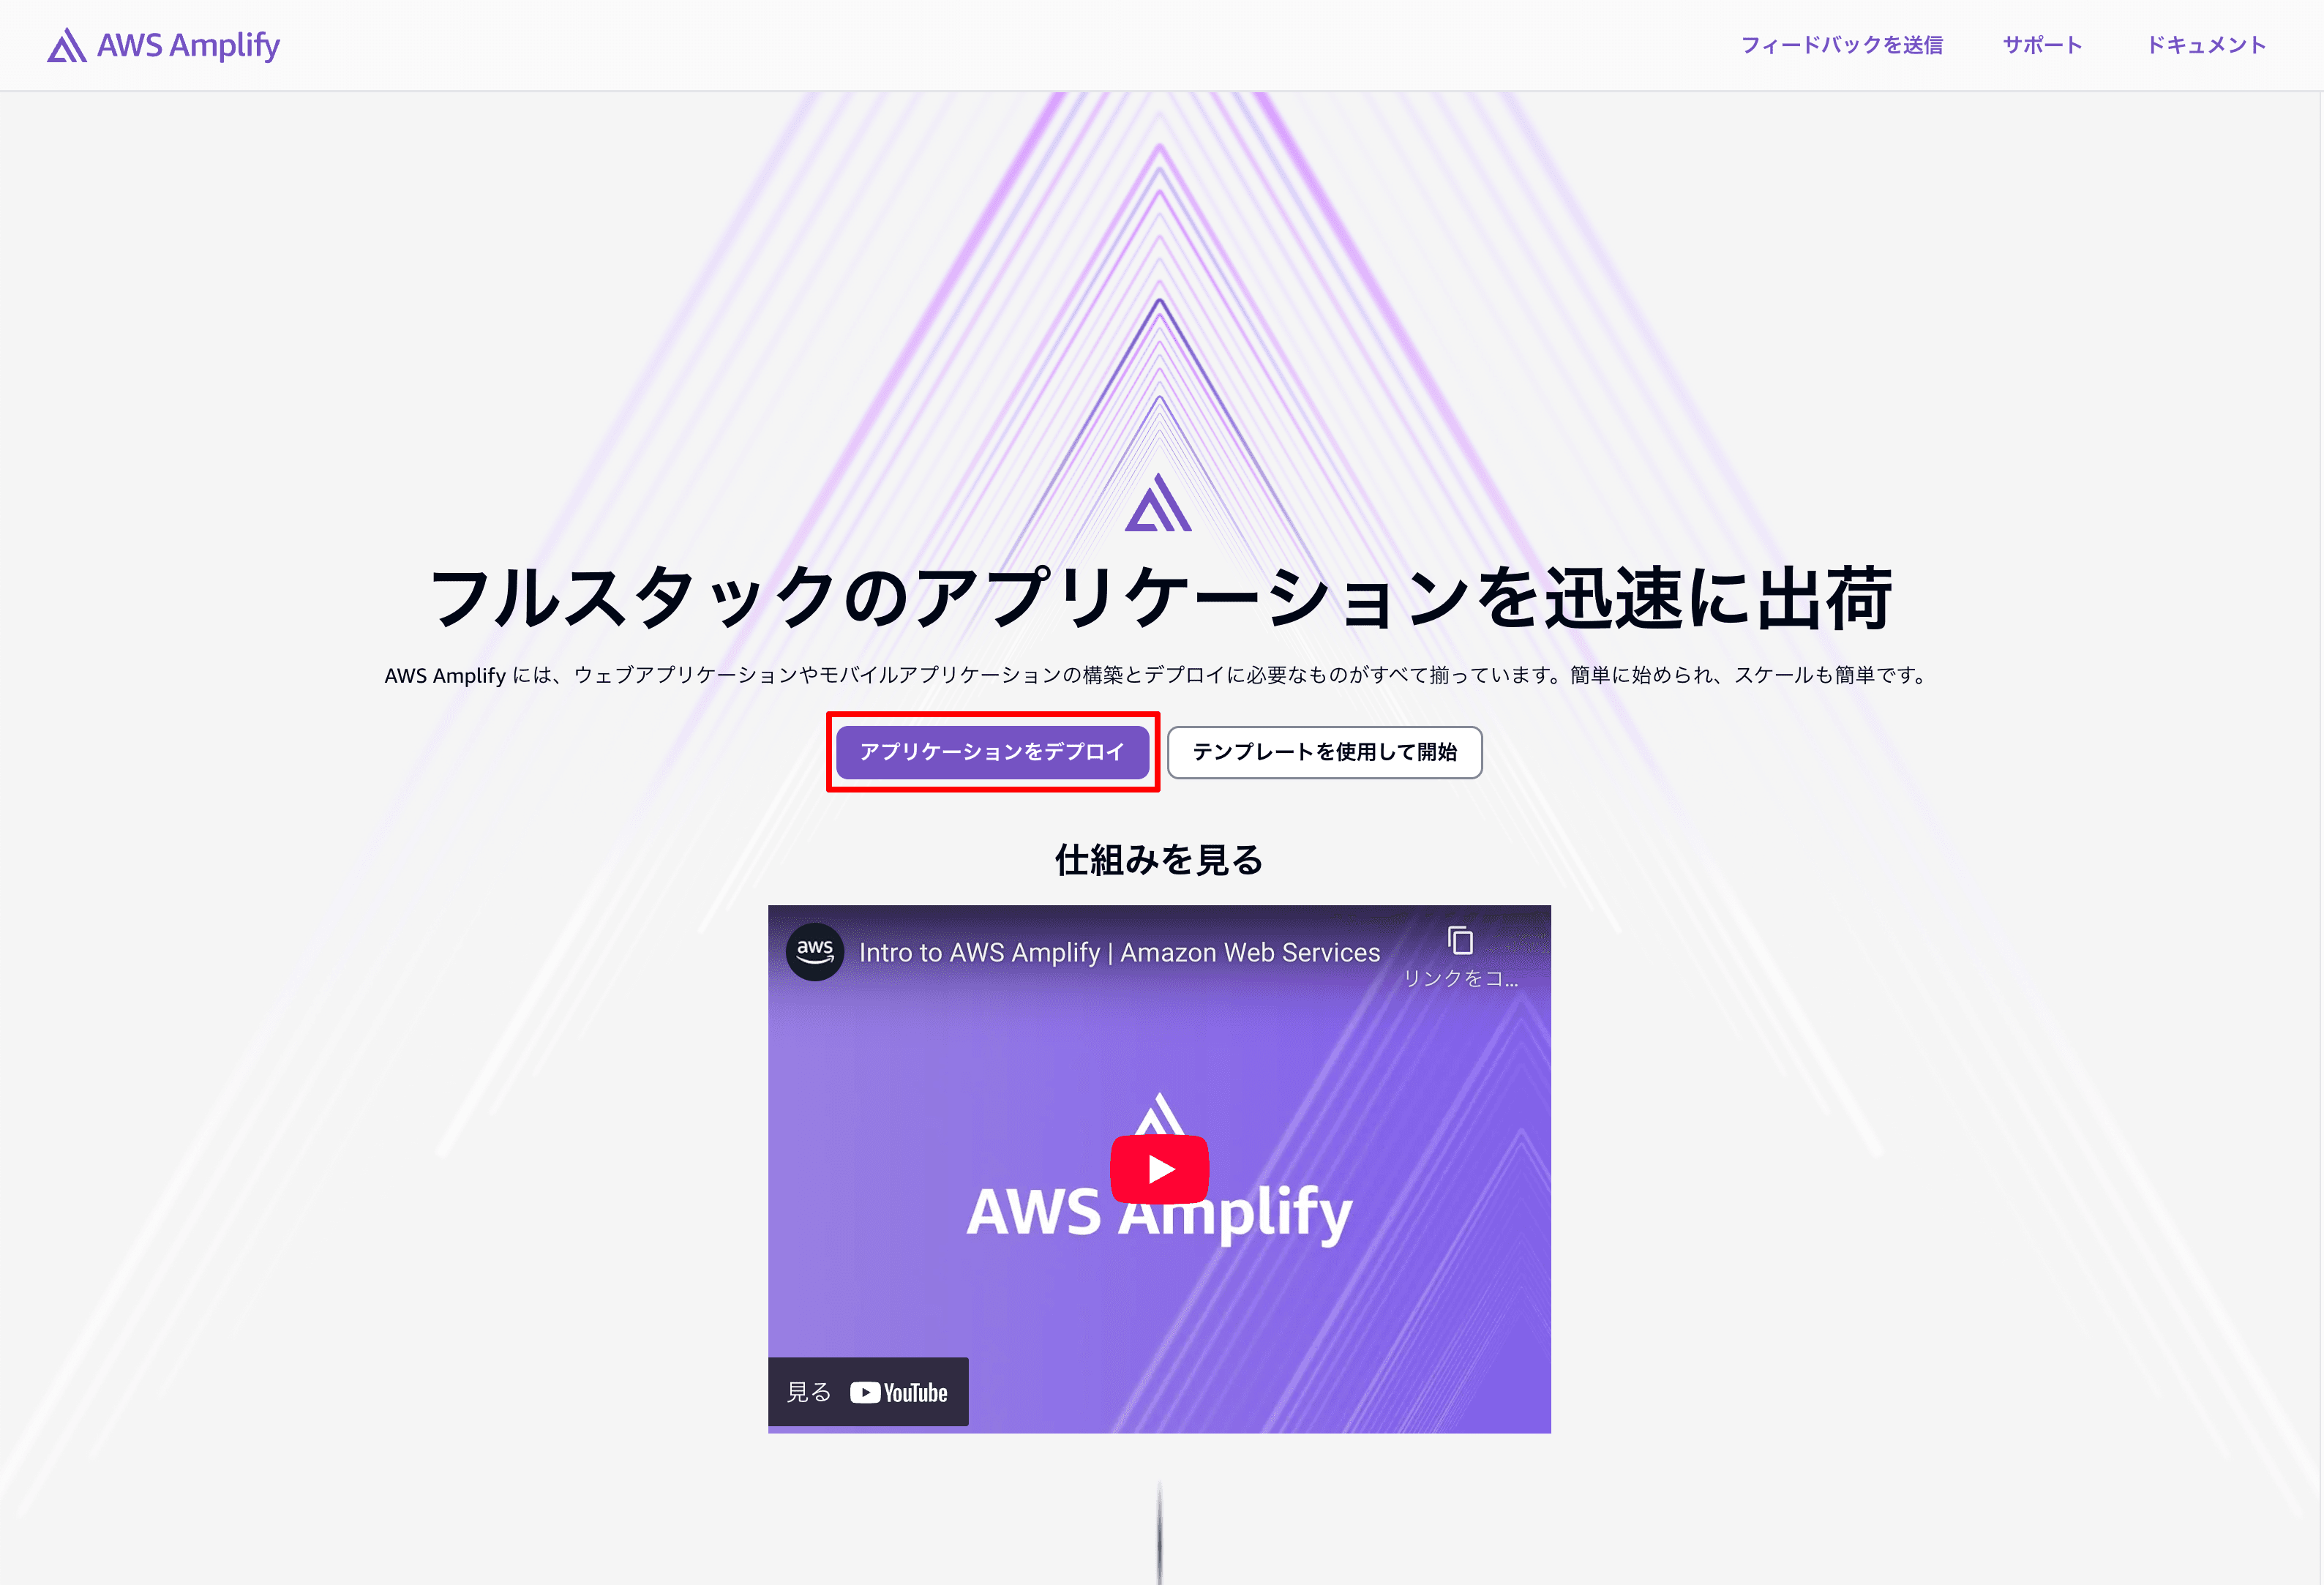
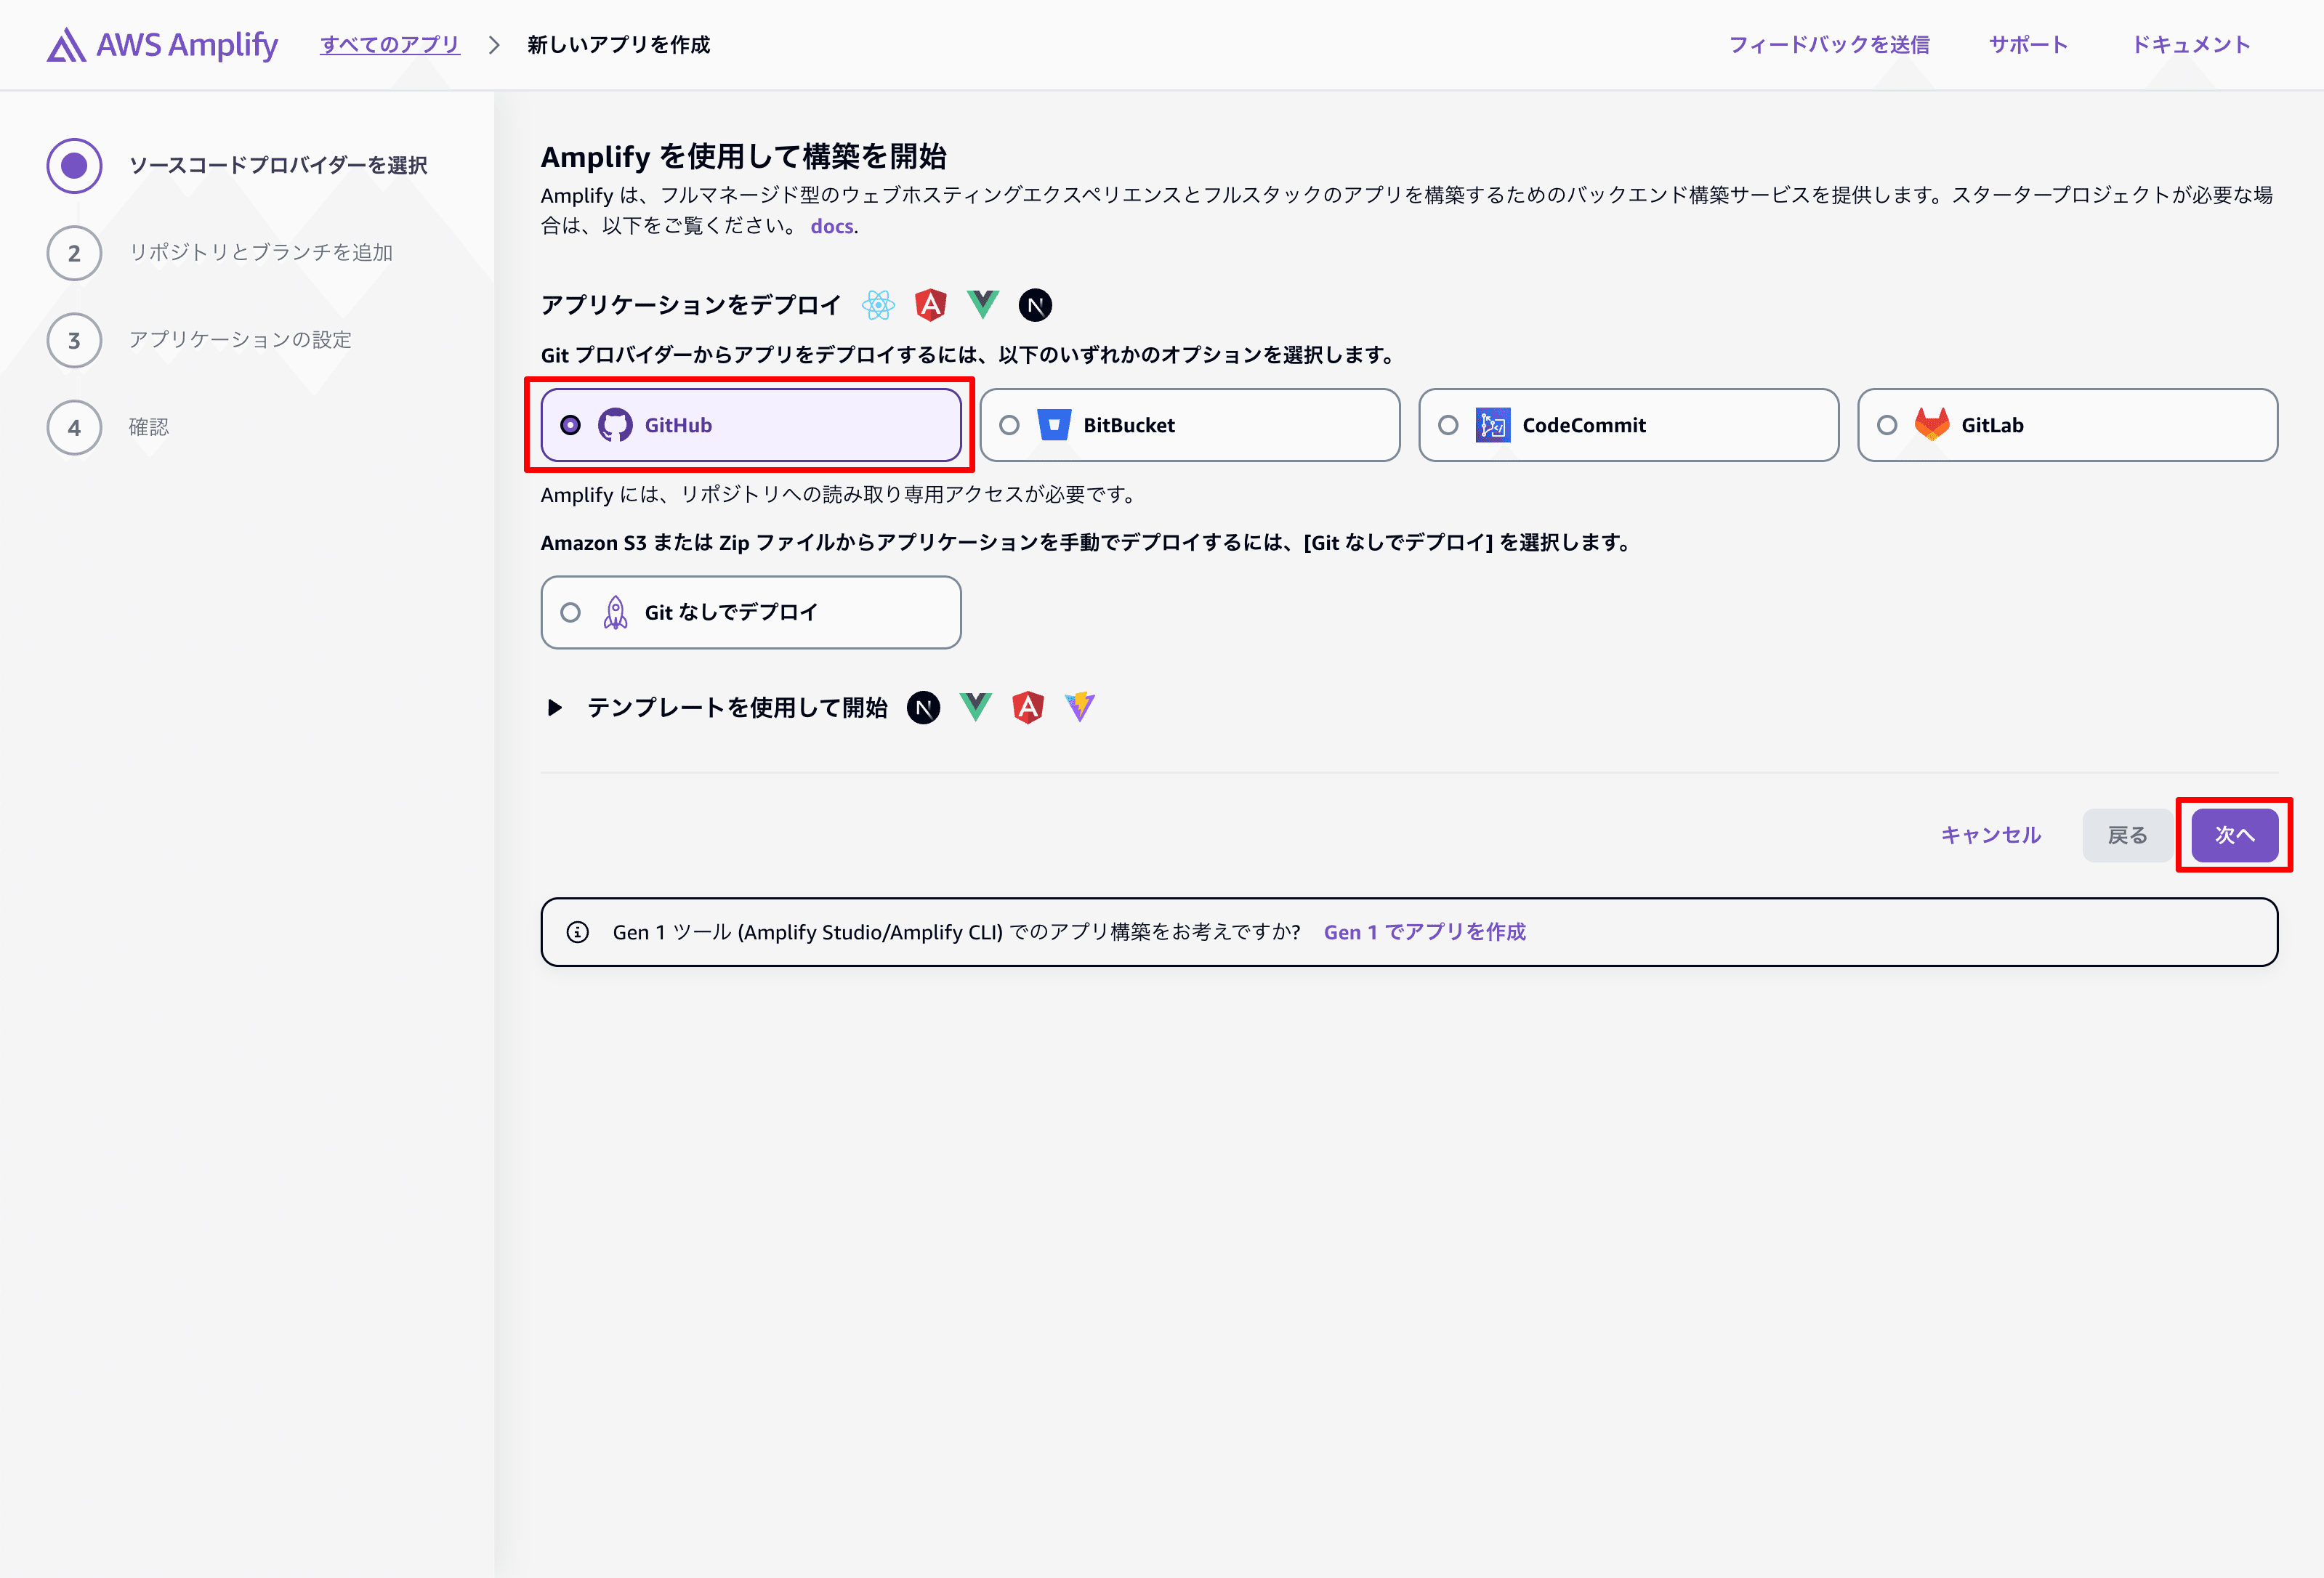
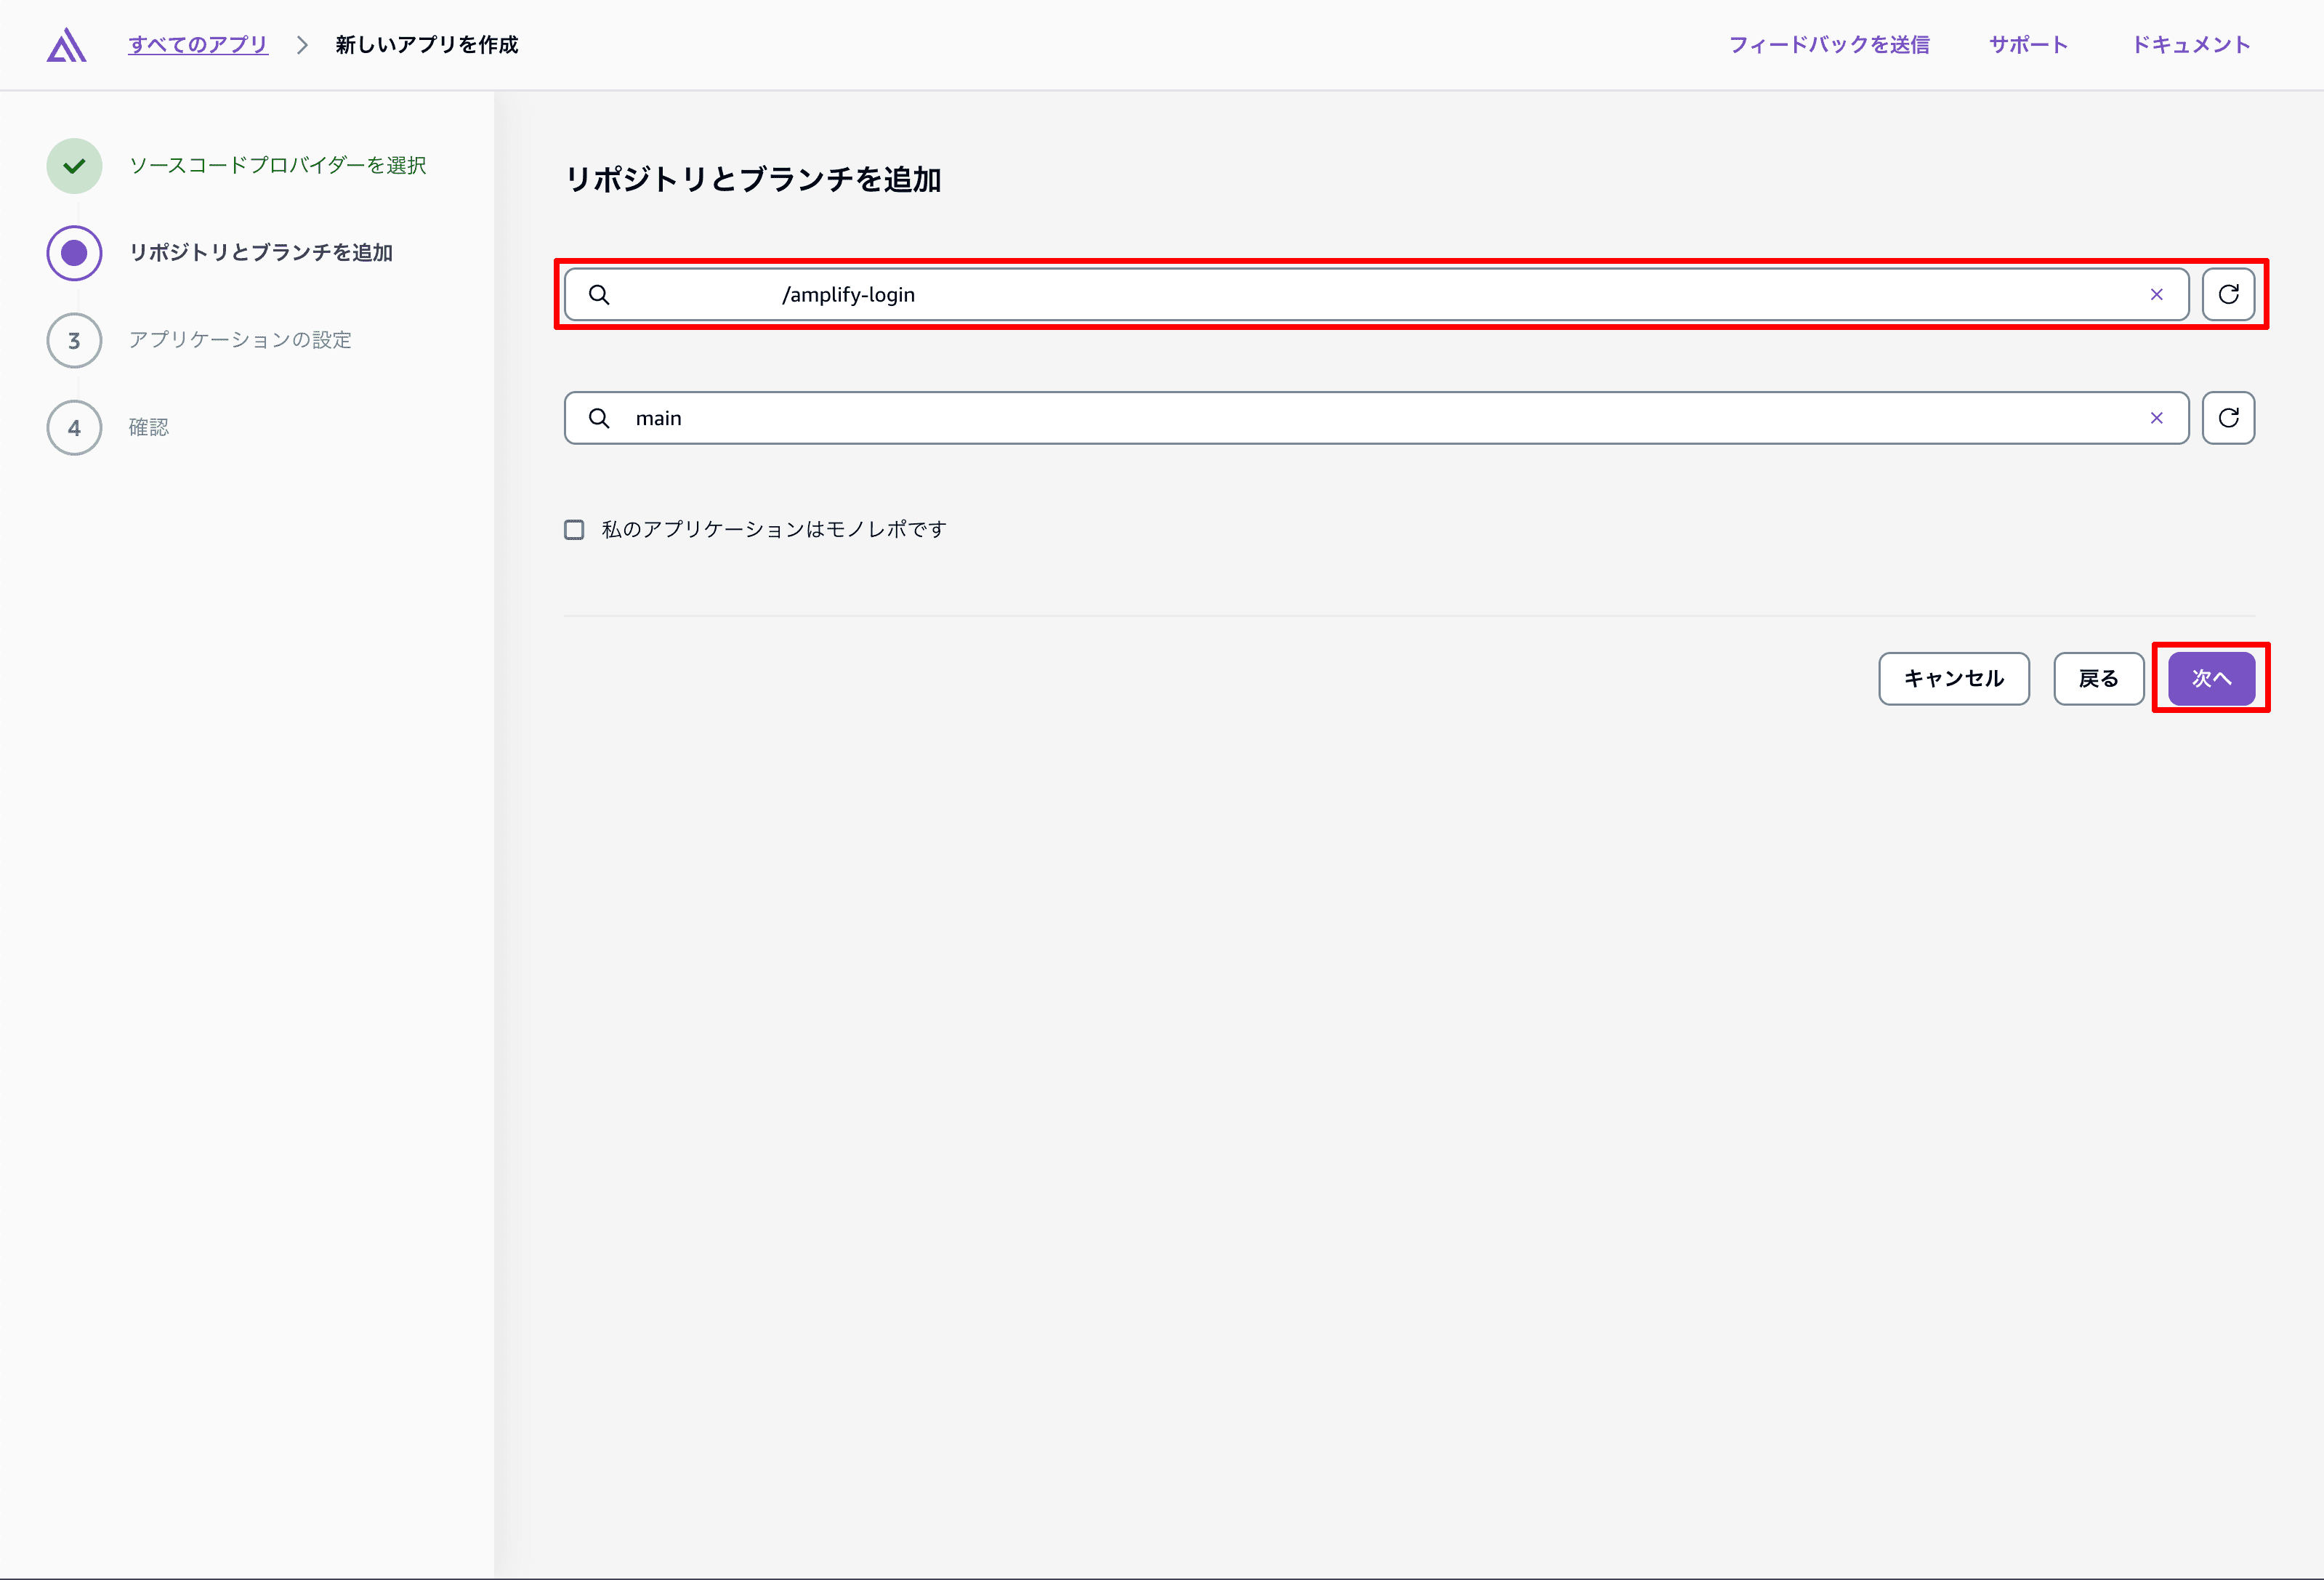
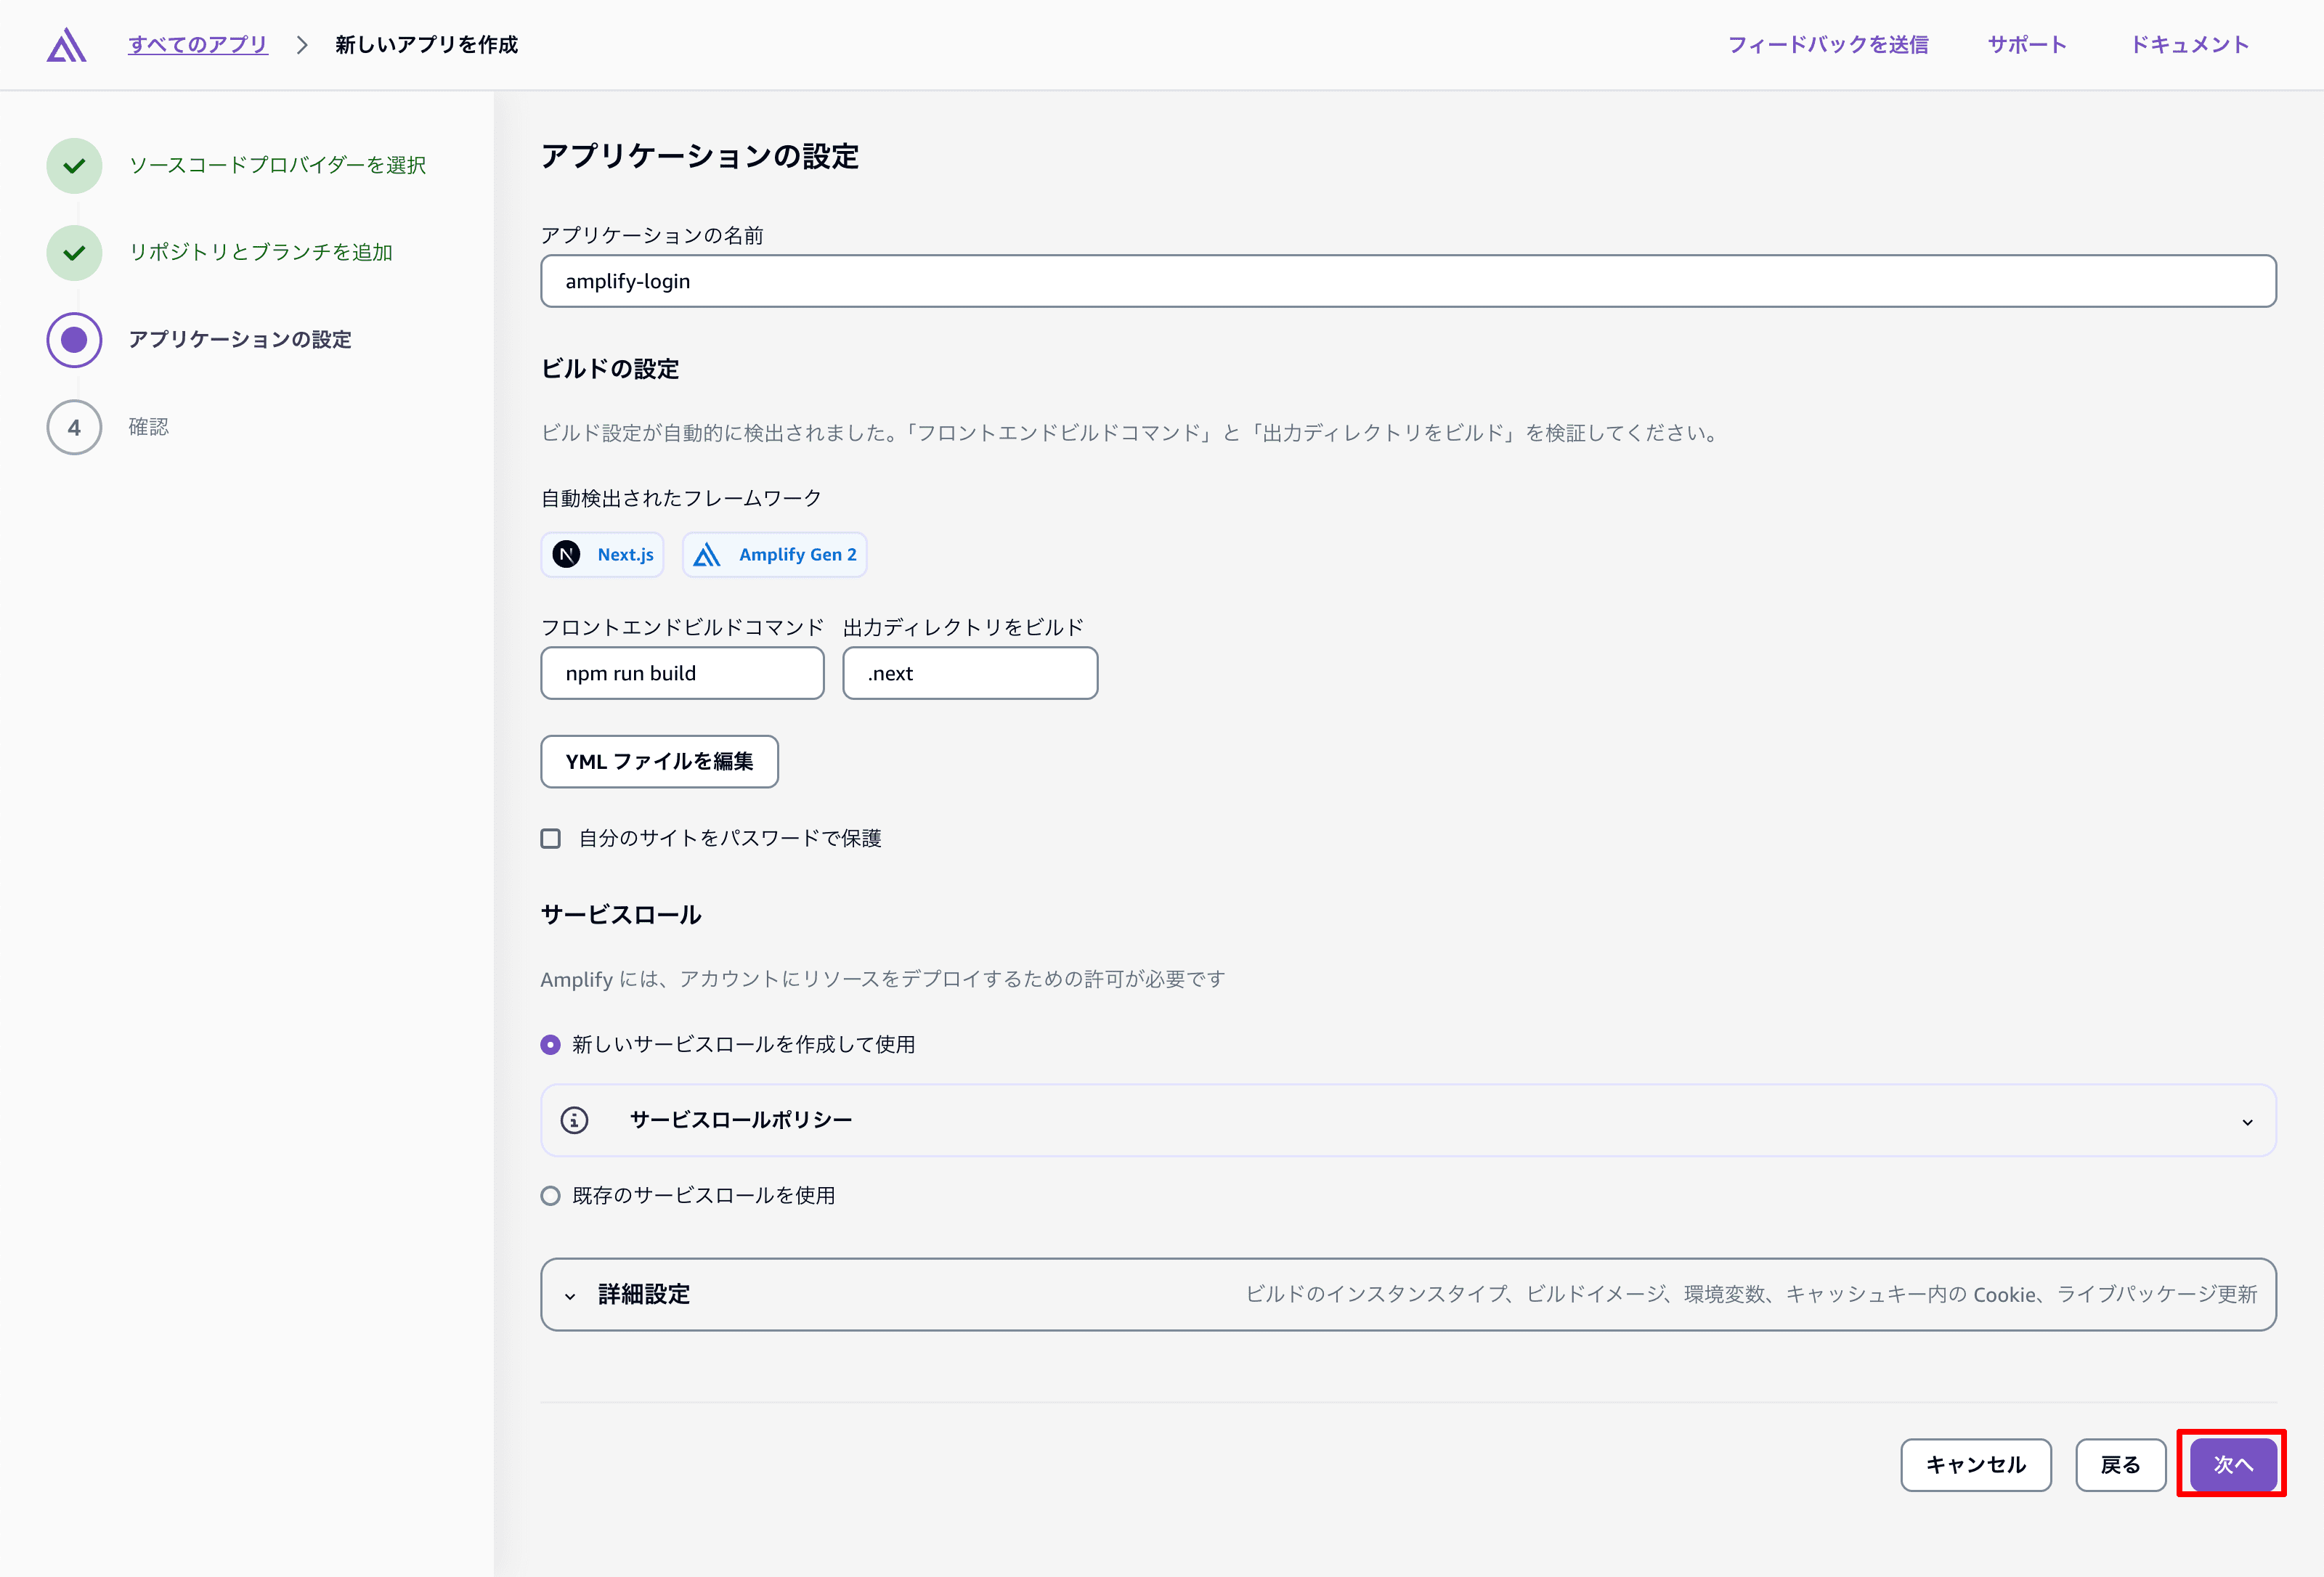
AWS Amplifyのコンソールで下記の手順でデプロイを進めていきます。
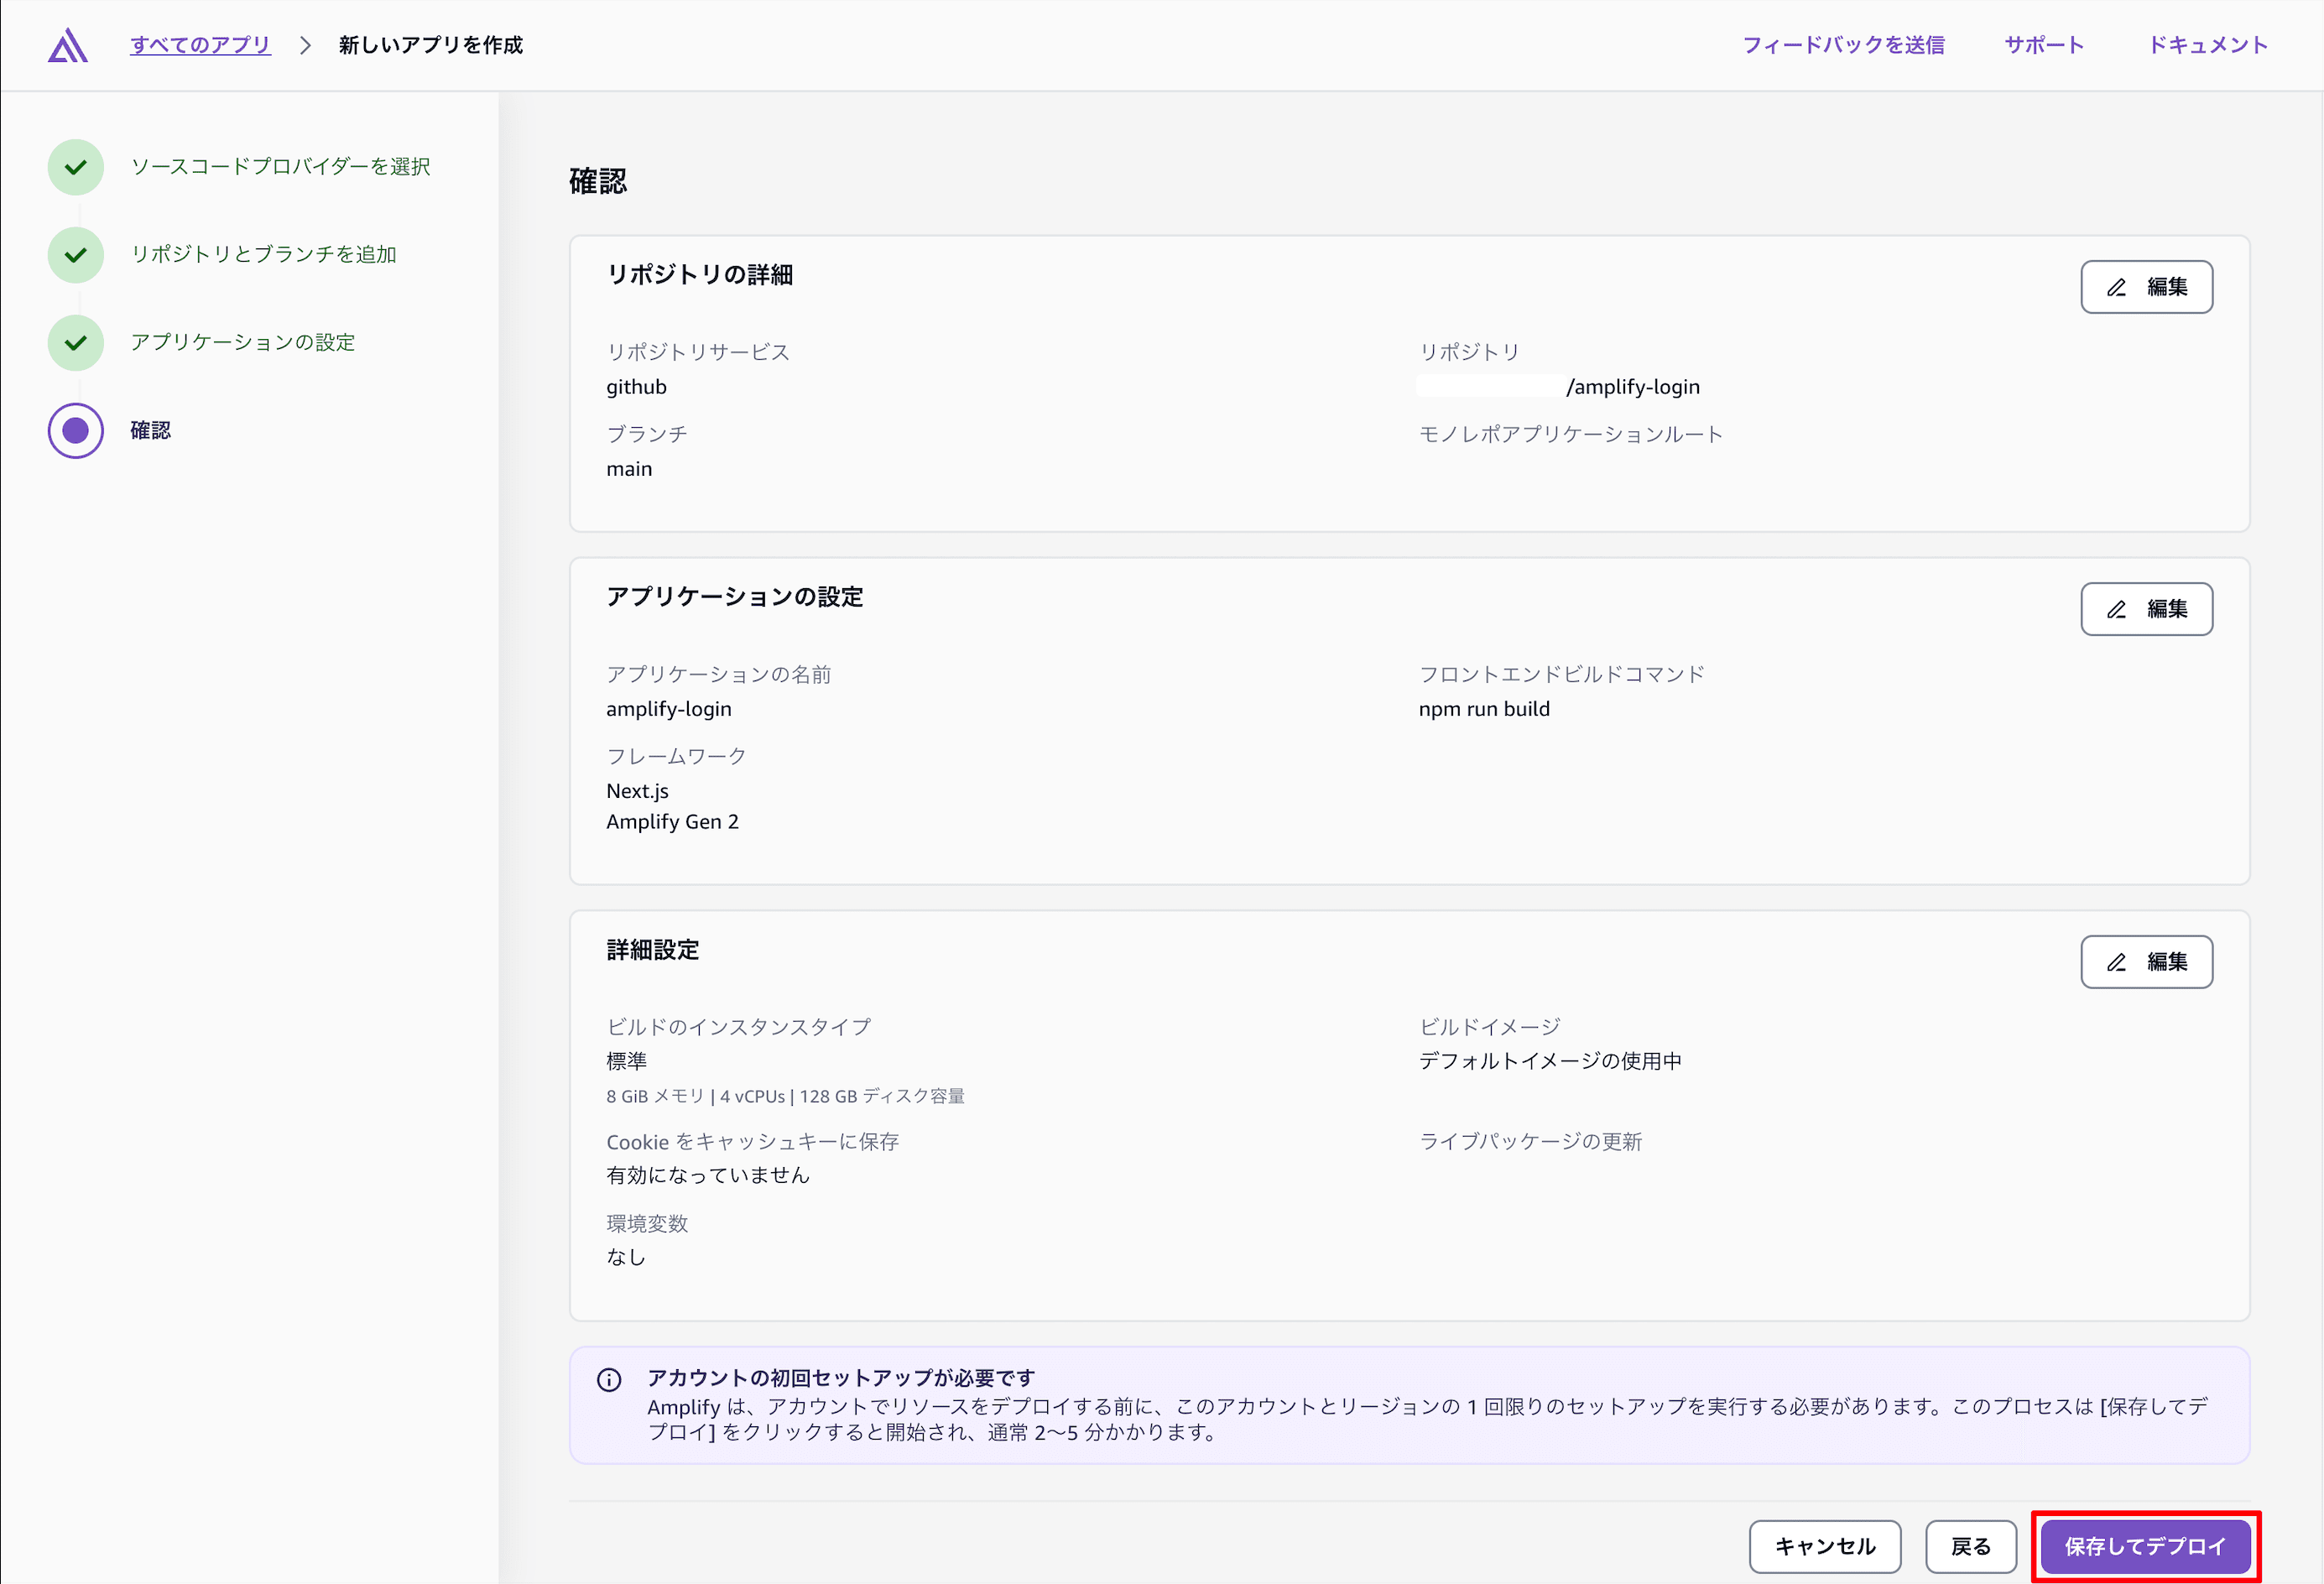

デプロイが完了するまで数分待ちます。
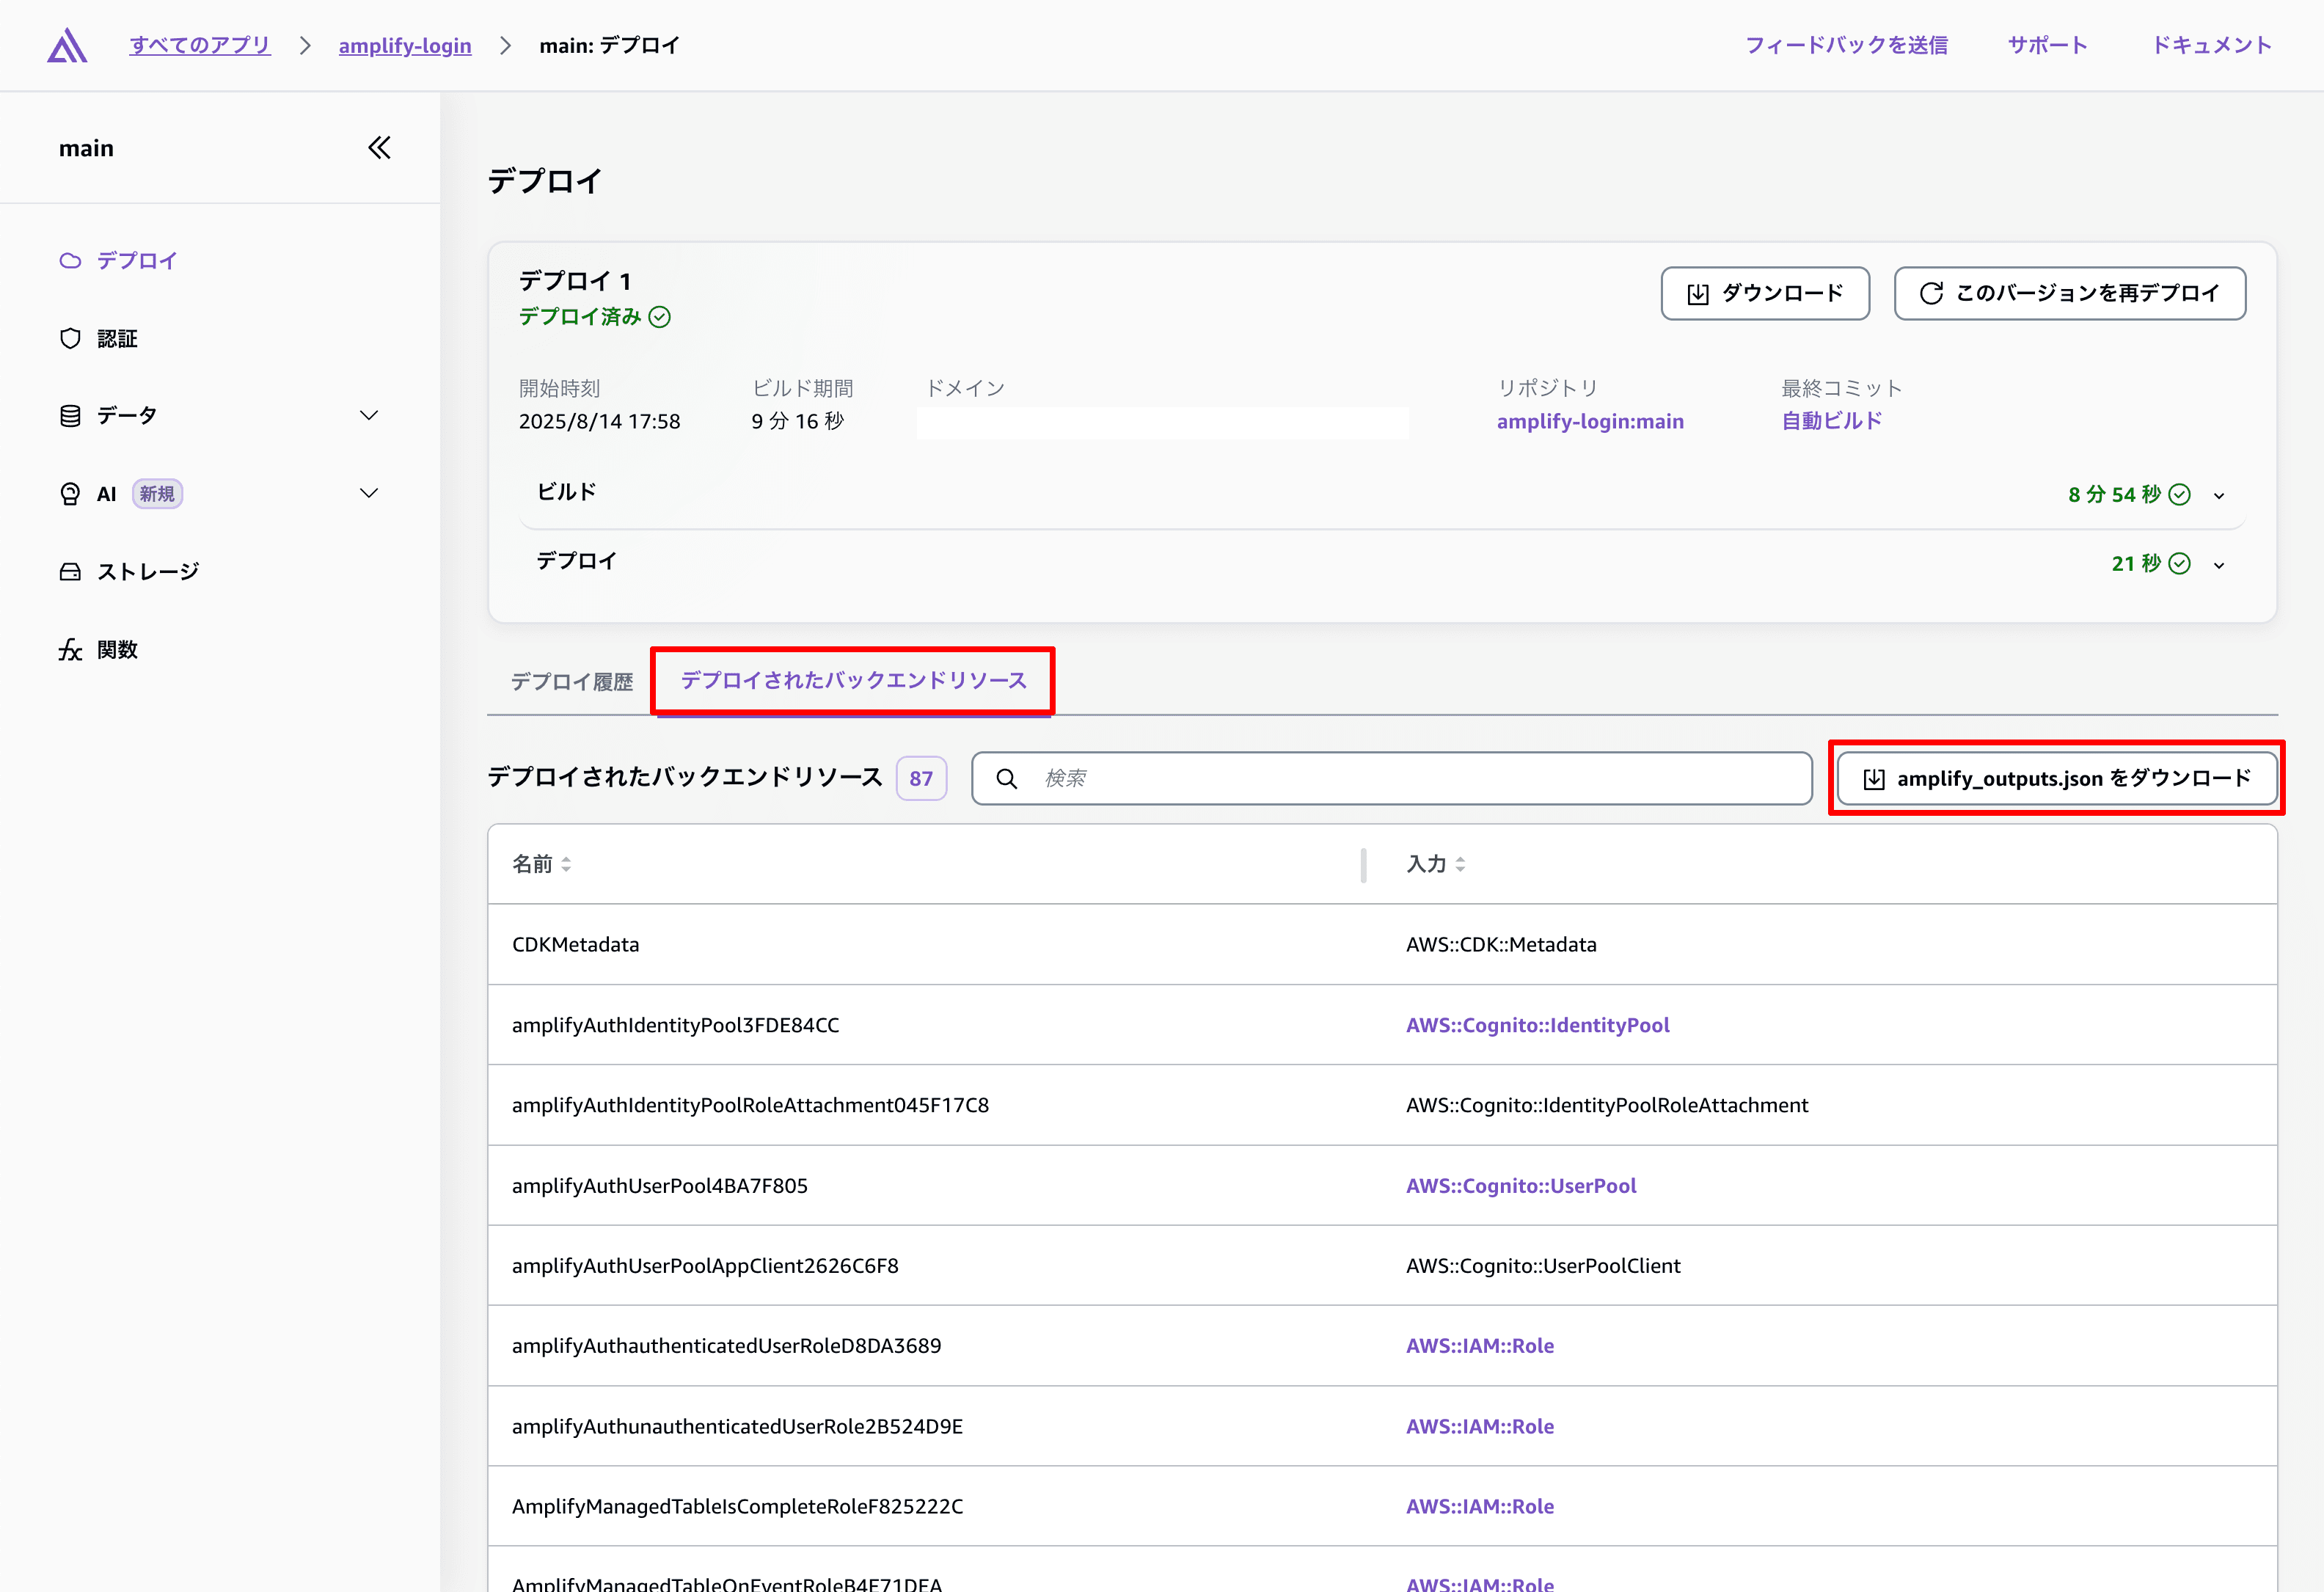
今回は9分16秒かかりました。
デプロイが完了したらamplify_outputs.jsonをダウンロードしてプロジェクトルートに設置します。
これでAmplify へのデプロイは完了です!
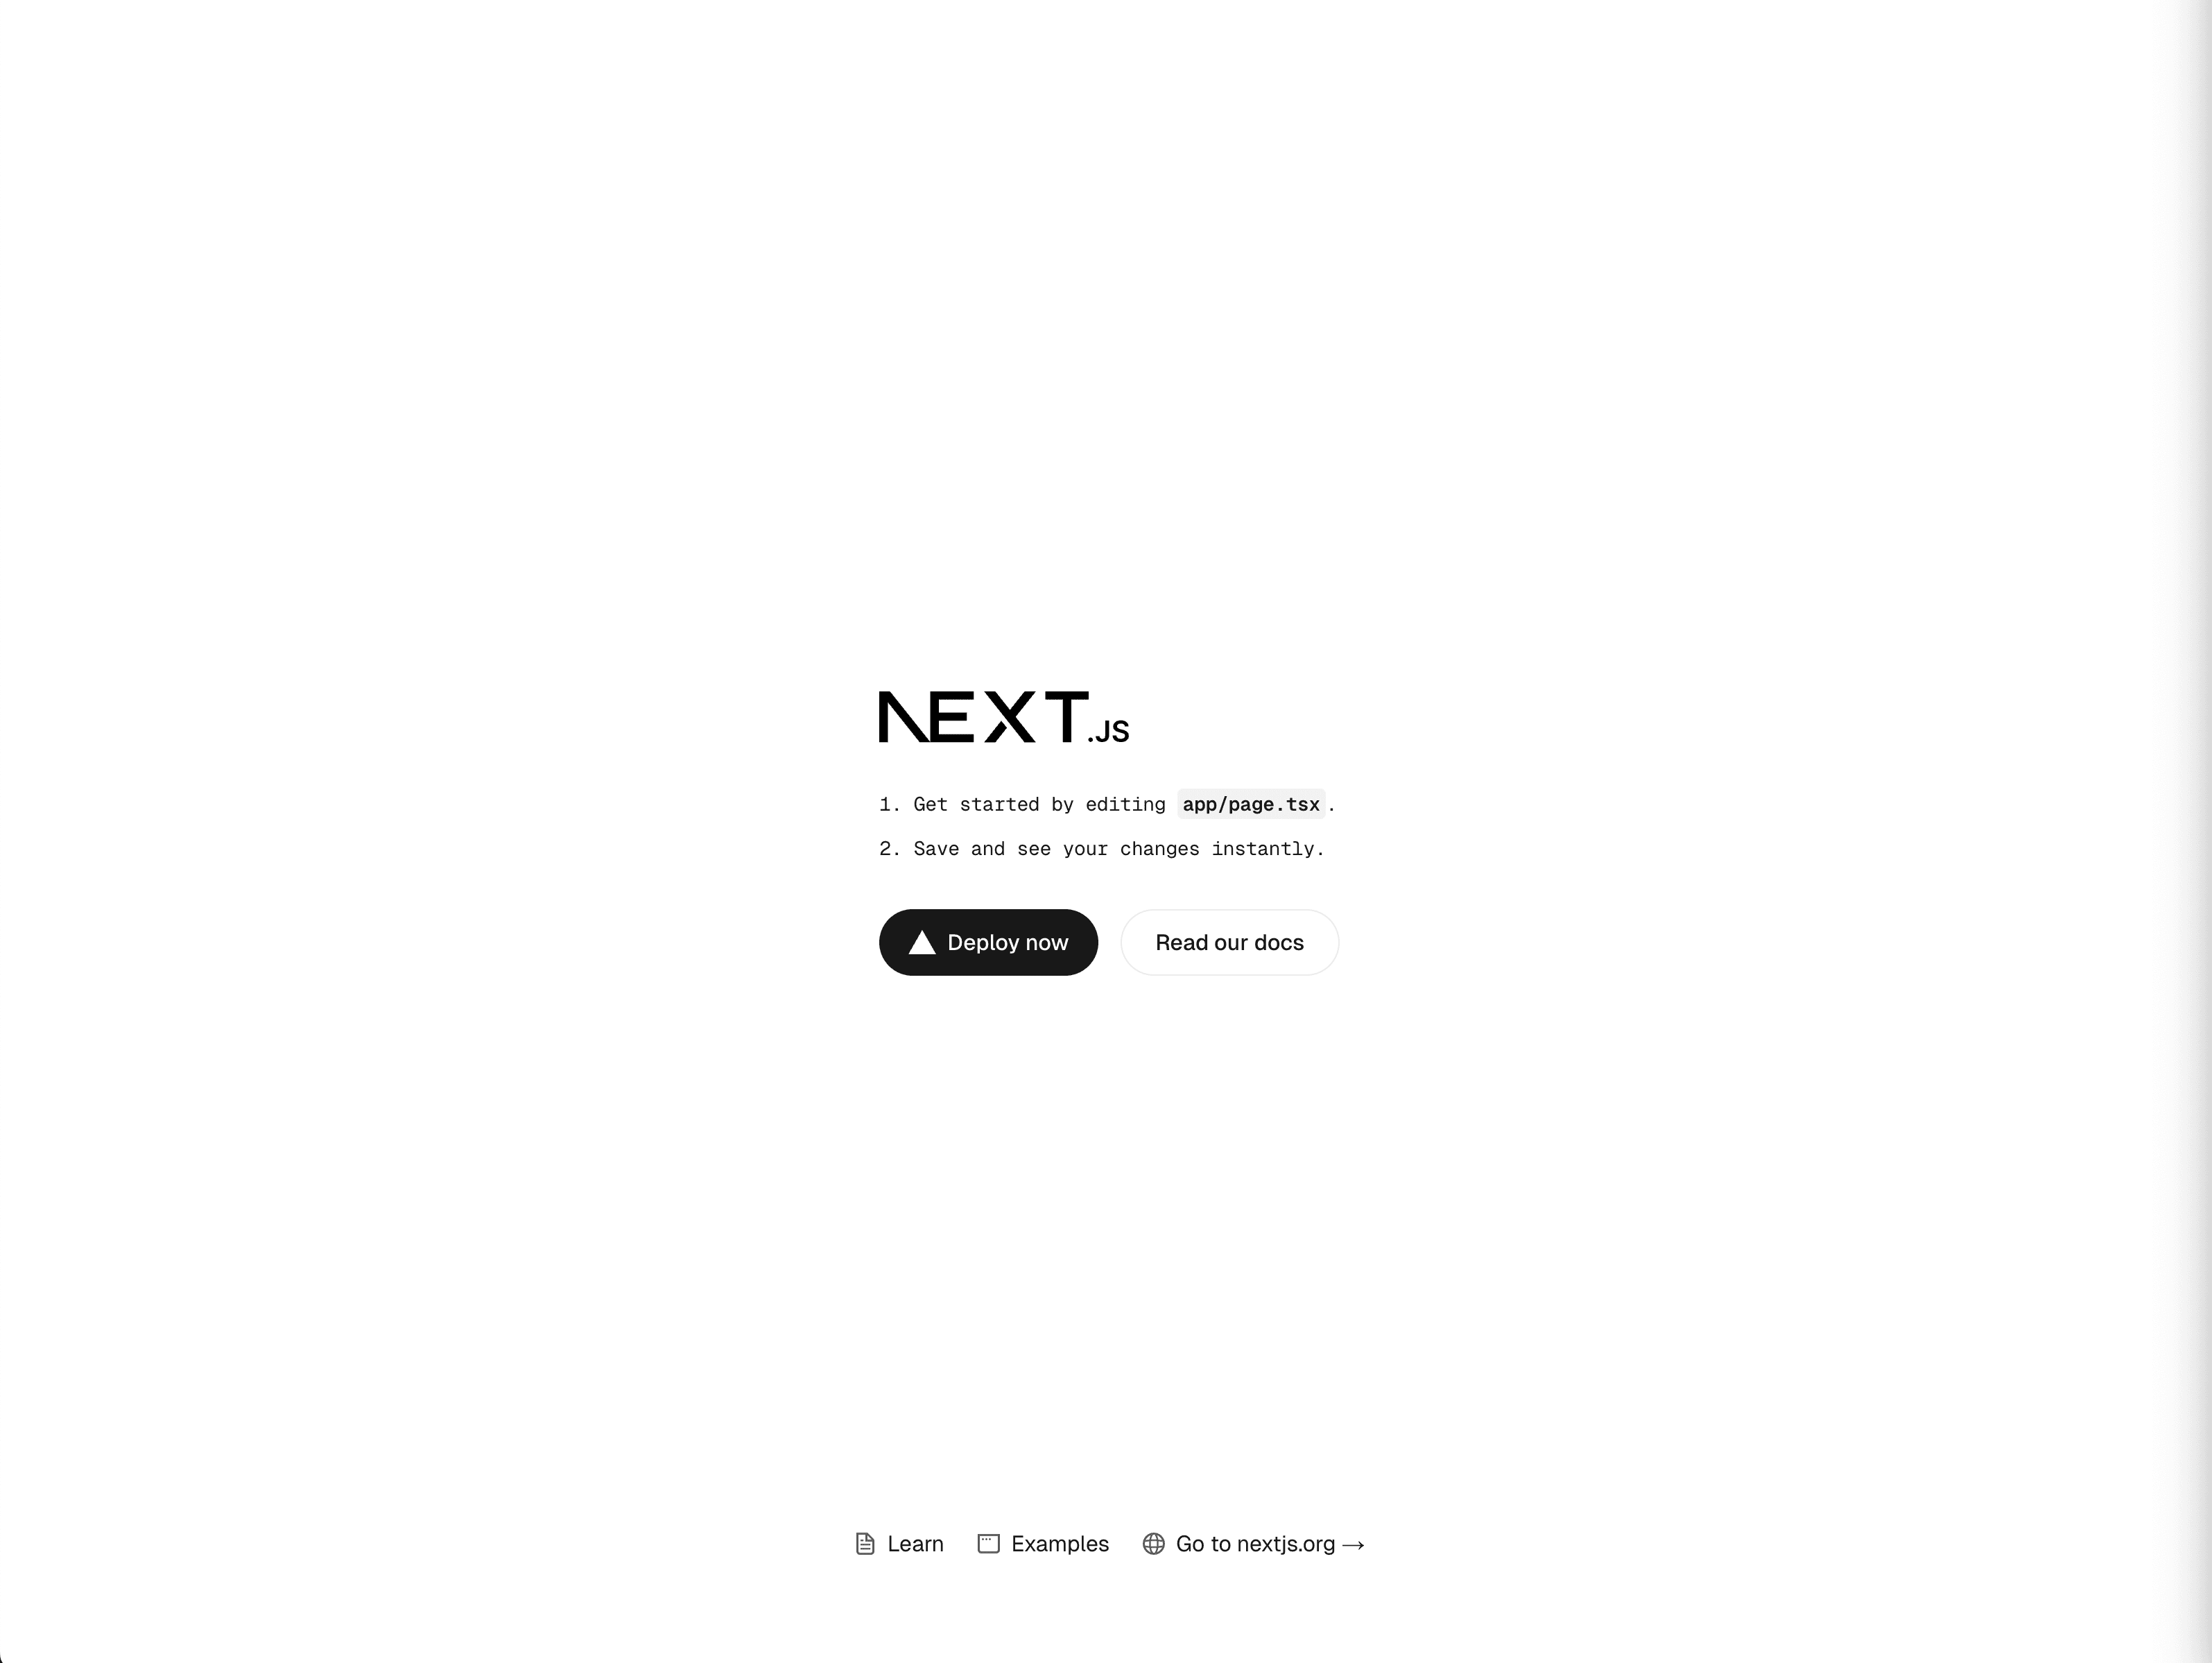
発行されたURLをクリックするとNext.js の初期ページが表示されます。
公式サイトを参考にログインUIを実装する
ui-reactパッケージをインストールします。
npm install @aws-amplify/ui-react
続いて app/AuthenticatorWrapper.tsx を作成します。
"use client"

import { Authenticator } from "@aws-amplify/ui-react";

export default function AuthenticatorWrapper({
  children,
}: {
  children: React.ReactNode;
}) {
  return <Authenticator>{children}</Authenticator>;
}
app/layout.tsx を以下のように修正します。
import { Amplify } from "aws-amplify";
import type { Metadata } from "next";
import { Geist, Geist_Mono } from "next/font/google";
import "./globals.css";

import "@aws-amplify/ui-react/styles.css";
import AuthenticatorWrapper from "./AuthenticatorWrapper";

import outputs from "@/amplify_outputs.json";

Amplify.configure(outputs);

const geistSans = Geist({
  variable: "--font-geist-sans",
  subsets: ["latin"],
});

const geistMono = Geist_Mono({
  variable: "--font-geist-mono",
  subsets: ["latin"],
});

export const metadata: Metadata = {
  title: "Create Next App",
  description: "Generated by create next app",
};

export default function RootLayout({
  children,
}: Readonly<{
  children: React.ReactNode;
}>) {
  return (
    <html lang="en">
      <body
        className={`${geistSans.variable} ${geistMono.variable} antialiased`}
      >
        <AuthenticatorWrapper>{children}</AuthenticatorWrapper>
      </body>
    </html>
  );
}
Amplifyにデプロイして確認すると無事にログイン画面が表示されました👏
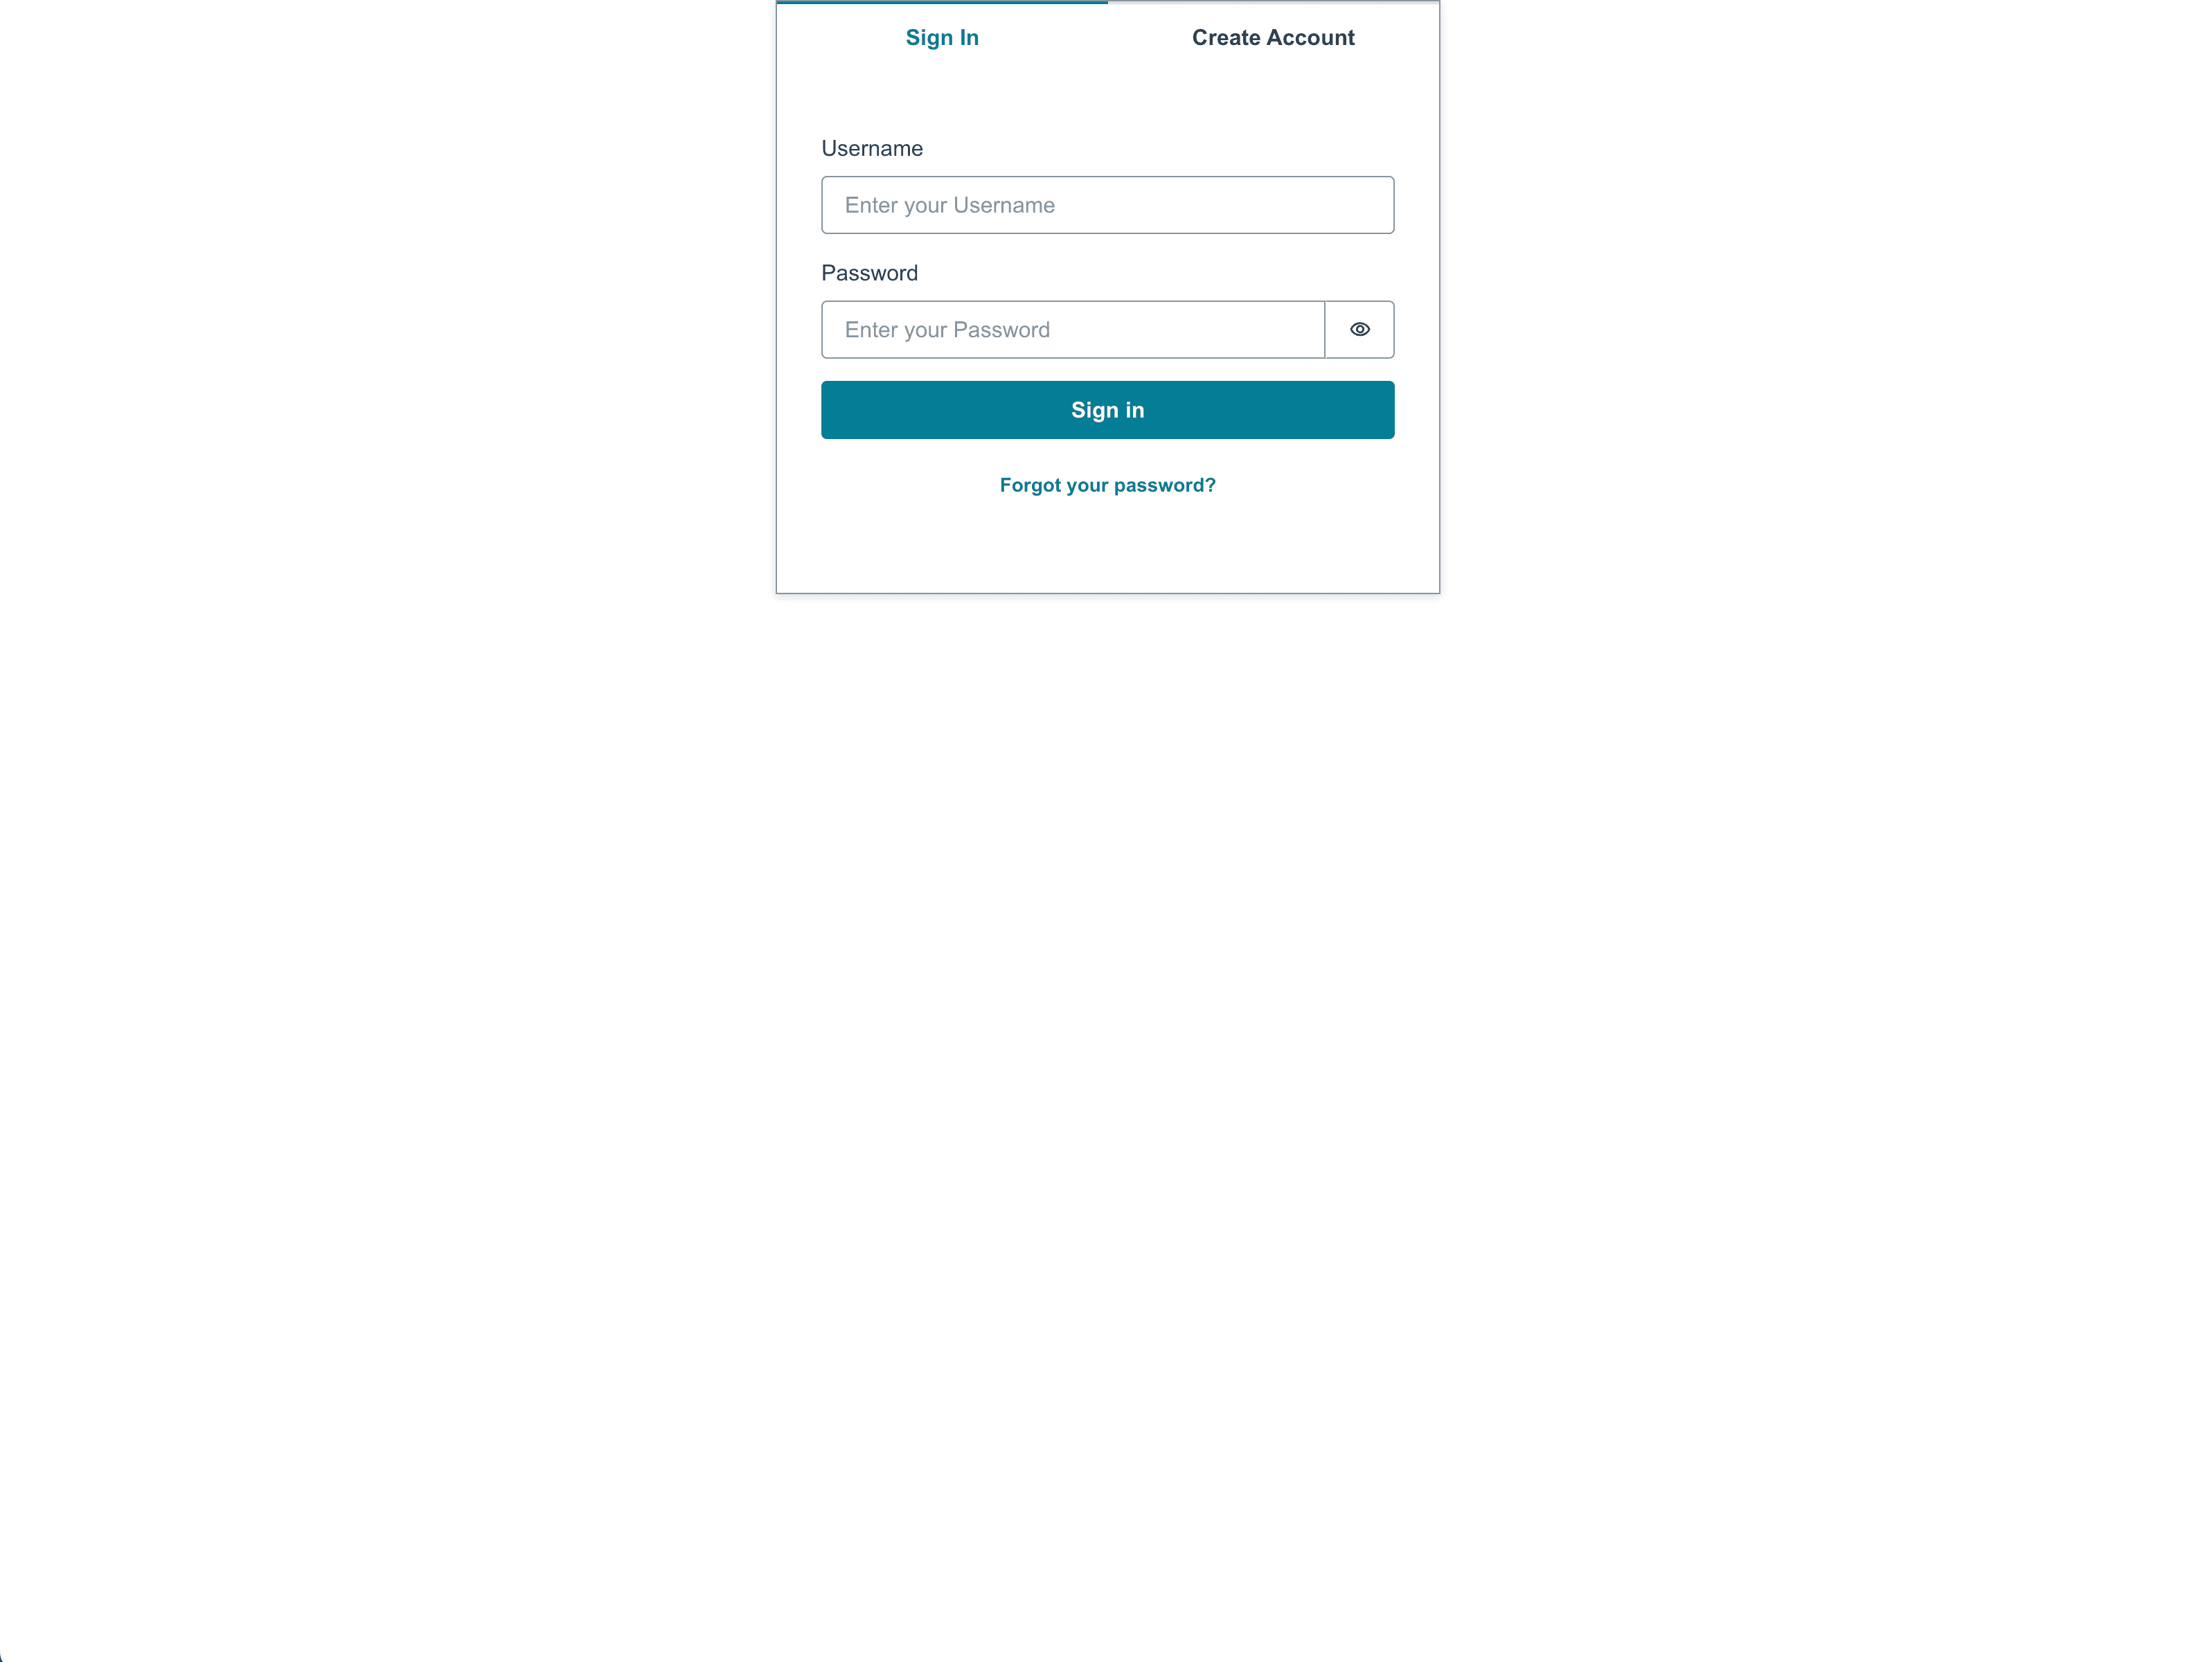
これでサクッと実装完了!とはいかず。。。
実装完了かと思いきや、思わぬハマりポイント
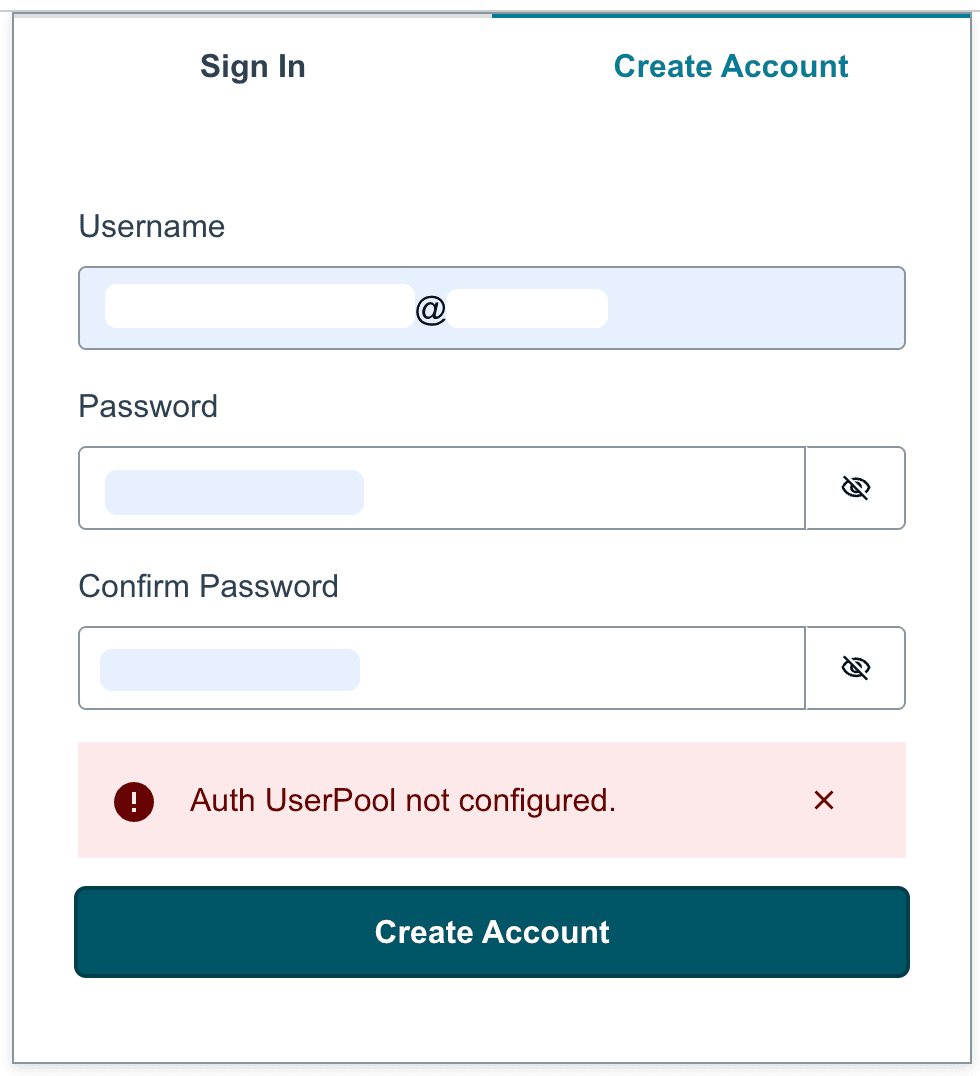
先ほどのコードだと
Auth UserPool not configured.
というエラーが出てしまいます。
DevToolsでログを確認すると
Amplify has not been configured. Please call Amplify.configure() before using this service.
と言われています。
cursorさん助けて〜と確認したところ、
Next.jsのクライアントサイドでの実行順序の問題の可能性があります。layout.tsxはサーバーサイドで実行されるため、クライアントサイドでAmplifyの設定が正しく適用されていない可能性があります。
とのこと。
試しに app/AuthenticatorWrapper.tsx を以下のように修正してみます。
"use client";

import { Authenticator } from "@aws-amplify/ui-react";
import { Amplify } from "aws-amplify";

import outputs from "@/amplify_outputs.json";

Amplify.configure(outputs);

export default function AuthenticatorWrapper({
  children,
}: {
  children: React.ReactNode;
}) {
  return <Authenticator>{children}</Authenticator>;
}
このように修正することでクライアントサイドでもAmplifyの設定ができるようになり、先ほどのエラーは解消されました!
公式ドキュメントでは app/AuthenticatorWrapper.tsx で Amplify.configure(outputs) を行っていなかったので、解決までかなり時間をかけてしまいました。。。
まとめ
今回はAmplify Gen2 を使って、空のプロジェクトからユーザーログインまでを構築してみました。ハマりポイントもありましたが、簡単にログイン機能を持つウェブサイトを作成することができました。
Amplify Gen2には便利な機能が沢山ありそうなので勉強しつつまとめていければと思います!
AUTHOR

朝日放送テレビ株式会社 技術局 技術開発部
新卒入社から2年半マスターでTVの運用監視業務を担当。2024年11月にDX・メディアデザイン局 SDチームに配属され周囲のタイピング速度に圧倒され中…